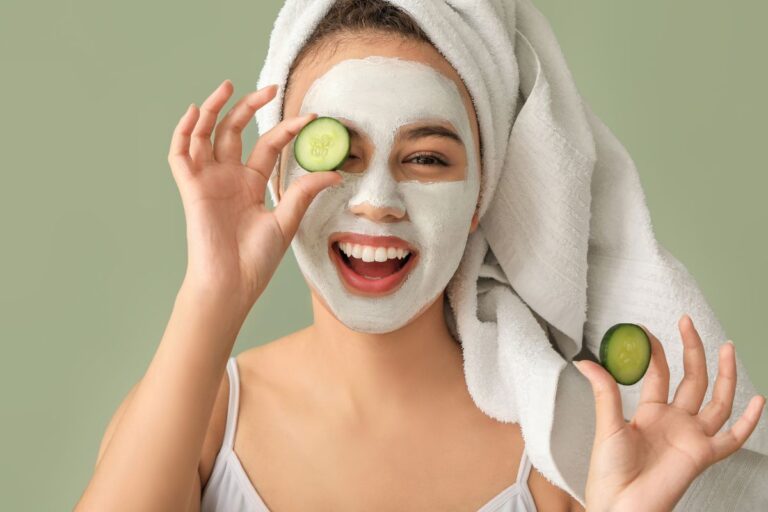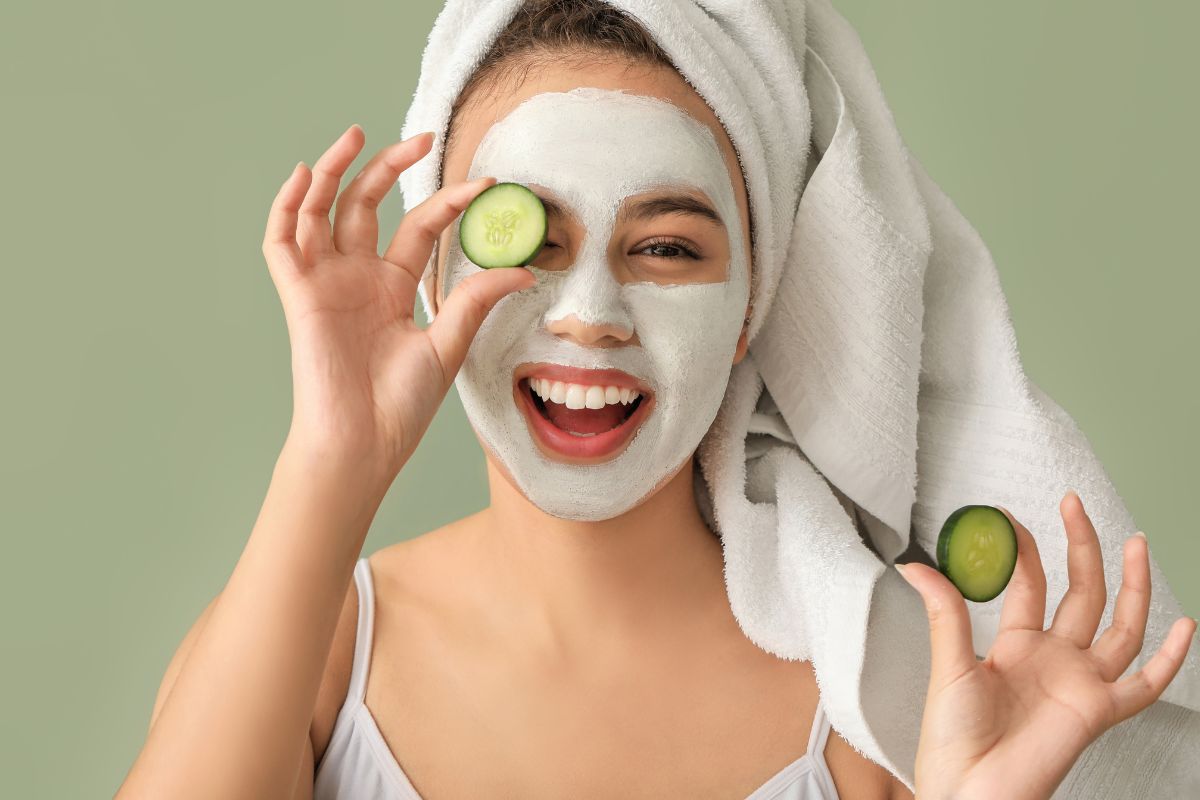
The path to radiant, healthy skin does not always require expensive serums or luxury spa treatments. Sometimes, the most powerful skincare solutions are hidden in plain sight—inside your kitchen. With the right combinations of natural ingredients, you can create DIY face masks that nourish, hydrate, and rejuvenate your skin, often more effectively than store-bought alternatives.
This guide explores tried-and-true DIY face masks using everyday ingredients, their benefits, and how you can tailor them to your unique skin type.
Why DIY Face Masks Work
DIY face masks are not just a passing trend. They work because kitchen ingredients are often rich in vitamins, antioxidants, enzymes, and natural oils that target common skin concerns.
-
No Harsh Chemicals: Unlike synthetic products, natural masks avoid irritants that can strip the skin of its natural moisture.
-
Affordable & Accessible: Most ingredients are already in your pantry, making these treatments budget-friendly.
-
Customizable: You can adjust recipes to suit oily, dry, sensitive, or combination skin types.
-
Holistic Benefits: Natural ingredients often provide multiple skin benefits at once, from exfoliation to hydration.
Also read: Digital Detox: Discover Why Unplugging is Essential for Modern Life
DIY Face Masks for Different Skin Concerns
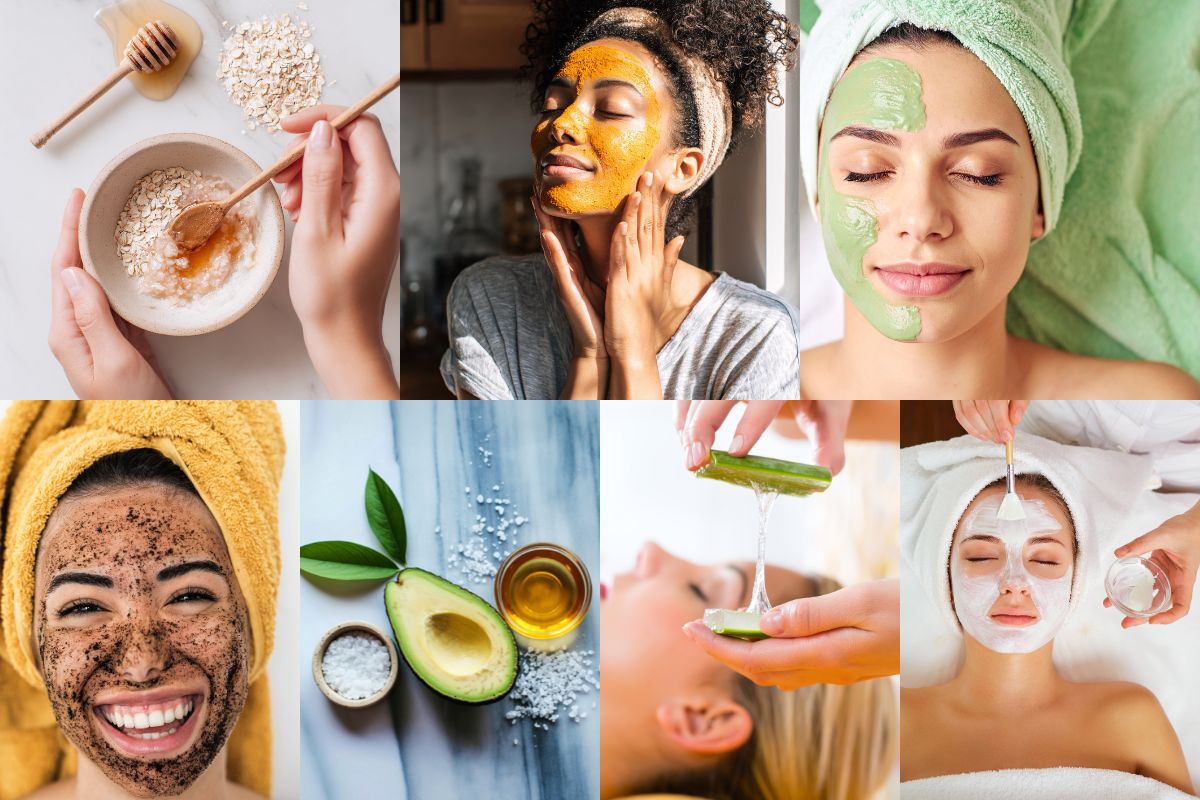
1. Hydrating Honey & Yoghurt Mask
Ingredients:
-
1 tablespoon honey
-
2 tablespoons plain yoghurt
Benefits:
Honey is a natural humectant, locking in moisture, while yoghurt contains lactic acid that gently exfoliates and softens skin. This mask is ideal for dry, dull skin needing hydration.
How to Use:
Mix ingredients into a smooth paste. Apply to your face for 15 minutes, then rinse with lukewarm water.
2. Brightening Turmeric & Lemon Mask
Ingredients:
-
1 teaspoon turmeric powder
-
1 tablespoon lemon juice
-
1 tablespoon yoghurt (optional for sensitive skin)
Benefits:
Turmeric reduces inflammation and fades dark spots, while lemon juice brightens skin and evens tone.
How to Use:
Mix into a thick paste and apply for 10 minutes. Rinse thoroughly to avoid yellow staining. Perfect for pigmentation and uneven skin tone.
3. Acne-Fighting Oatmeal & Tea Tree Mask
Ingredients:
-
2 tablespoons oatmeal
-
A few drops of tea tree oil
-
Warm water to mix
Benefits:
Oatmeal calms redness and absorbs excess oil, while tea tree oil fights acne-causing bacteria. This mask soothes inflamed, acne-prone skin.
How to Use:
Grind oatmeal into powder, mix with water and tea tree oil, and apply for 15 minutes. Wash off gently to avoid irritation.
4. Exfoliating Coffee & Honey Mask
Ingredients:
-
1 tablespoon ground coffee
-
1 tablespoon honey
Benefits:
Coffee grounds act as a natural exfoliant, removing dead skin cells, while honey hydrates and softens. This mask reveals fresh, glowing skin.
How to Use:
Massage gently in circular motions for 2–3 minutes, then leave on for 10 minutes before rinsing.
5. Anti-Ageing Avocado & Olive Oil Mask
Ingredients:
-
½ ripe avocado
-
1 teaspoon olive oil
Benefits:
Avocado is packed with healthy fats and vitamins E and C, which fight free radicals and improve skin elasticity. Olive oil deeply nourishes ageing skin.
How to Use:
Mash avocado, add olive oil, and apply generously. Leave for 20 minutes, then rinse with cool water.
6. Detoxifying Charcoal & Aloe Vera Mask
Ingredients:
-
1 teaspoon activated charcoal
-
2 tablespoons aloe vera gel
Benefits:
Charcoal draws out toxins and impurities, while aloe vera soothes and hydrates irritated skin. This mask is excellent for oily or congested skin.
How to Use:
Mix into a smooth paste and apply evenly. Leave on for 15 minutes before rinsing.
7. Glow-Boosting Papaya & Honey Mask
Ingredients:
-
2 tablespoons mashed ripe papaya
-
1 tablespoon honey
Benefits:
Papaya contains natural enzymes (papain) that brighten skin and reduce blemishes. Honey adds hydration and promotes a youthful glow.
How to Use:
Apply to face for 15 minutes, then rinse. This mask leaves skin looking refreshed and radiant.
Pro Tips for DIY Mask Success
-
Patch Test First: Natural ingredients can still cause allergies. Always test on a small area before full application.
-
Use Fresh Ingredients: The fresher the ingredients, the better the results.
-
Consistency is Key: Use masks 1–2 times weekly for best results.
-
Clean Skin Before Application: Apply masks to a freshly cleansed face for maximum absorption.
-
Moisturise After: Always follow with a gentle moisturiser to lock in benefits.
Tailoring Masks to Your Skin Type
-
Oily Skin: Focus on masks with lemon, turmeric, or charcoal to balance excess oil.
-
Dry Skin: Choose hydrating ingredients like honey, yoghurt, and avocado.
-
Sensitive Skin: Stick to soothing ingredients such as oatmeal, aloe vera, and cucumber.
-
Combination Skin: Alternate between hydrating and detoxifying masks depending on your skin’s needs.
The Science Behind Kitchen Ingredients
-
Honey: Natural antibacterial and hydrating properties.
-
Turmeric: Rich in curcumin, a powerful anti-inflammatory.
-
Yogurt: Contains lactic acid for gentle exfoliation.
-
Avocado: Loaded with antioxidants and fatty acids.
-
Oatmeal: Known for calming irritated skin.
-
Papaya: Natural enzymes brighten and reduce pigmentation.
These ingredients have been used in traditional remedies for centuries, and modern science now supports their efficacy.
Also read: Rising Stars of Emirati Fashion: Designers You Can’t Miss in 2025
Conclusion: Skincare That Starts at Home
Radiant skin does not always come in a bottle. With simple kitchen ingredients, you can create DIY face masks that deliver real results—hydrating, brightening, soothing, and rejuvenating your skin naturally. These masks are proof that effective skincare can be affordable, accessible, and chemical-free.
The key lies in consistency, understanding your skin type, and embracing the power of nature. Next time you crave a spa-like experience, skip the expensive treatments and step into your kitchen—it might just hold the secret to your best skin yet.